Friday, January 27, 2017

basketball treat bags & SSS wednesday challenge

Hello, I hope everyone is having a wonderful day! 
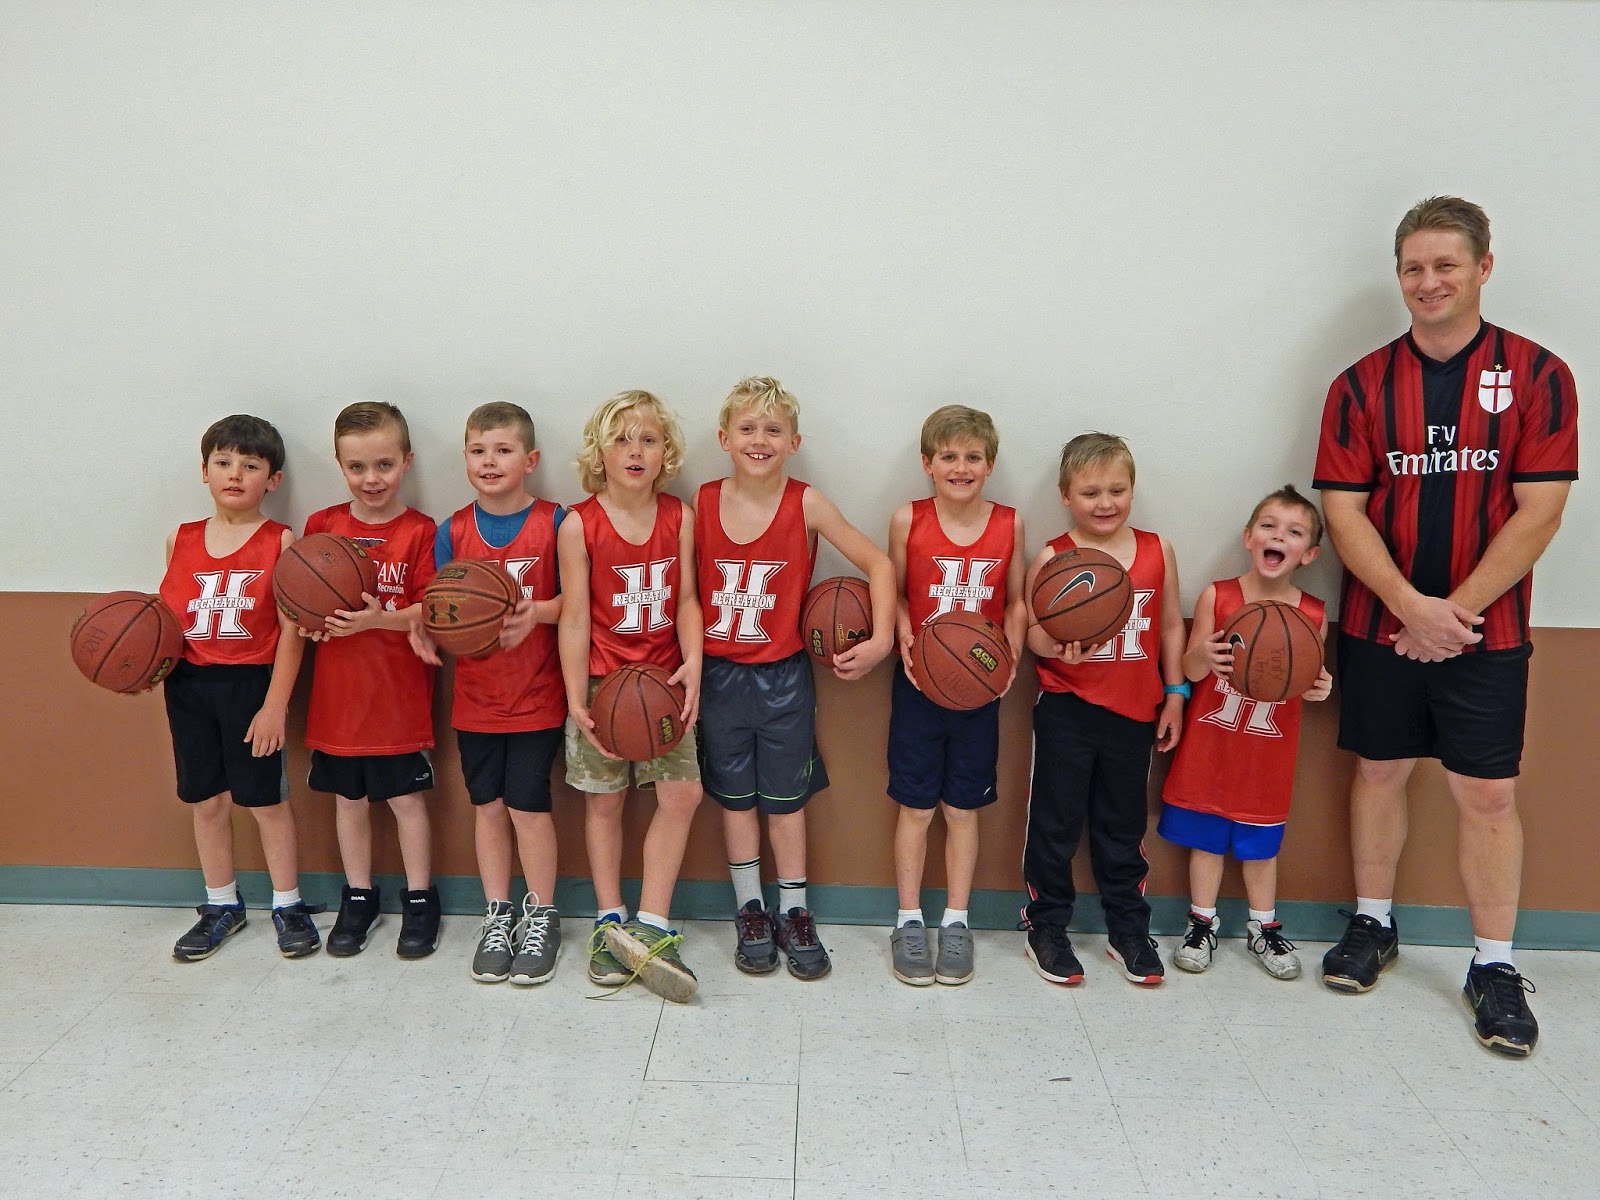
I am sharing with you a fun project for my son's basketball team. We coach everything that he is involved in: basketball, soccer, baseball; you could say we are pretty busy.  I always like to give them a fun bag of goodies at their last game as a way of telling them thank you for being on our team and letting them know they did a good job!  We had a lot of fun with this group of boys, they are in 1st and 2nd grade and full of energy!!

I am also entering this project in the SSS Wednesday Challenge of Anything Goes!


Supplies used:
white and orange paper
Memento rich cocoa and tangelo inks
SSS Sports Planner stamp set with coordinating dies
SSS Stitched Circles dies
Zig writer/marker: chocolate  

Thank you for visiting my blog!    Have a great and crafty day!

Wednesday, January 25, 2017

Leslee's Birthday Bag

Good Morning everyone, today I wanted to share with you a cute little bag that I filled with just a few fun goodies like some crafty embellishments, gum, body spray, etc.. for a friend of mine. We recently went to lunch together to celebrate both of our Birthdays, and I surprised her with this little bag! 


The bag came from a pad by Colorbok called Create A Box. It has a bunch of pre-cut and scored bags and boxes.  I used some Ranger Peacock Feathers Distress Ink to blend in and soften the edges of the box and then I embellished the bag with a stamp and die set from Sizzix & Lori Whitlock. I used my MISTI to stamp the images in Versamark, applied white embossing powder from Stampendous, then heat set with my heat gun from Darice. I used some watercolors to paint my images. I cut out the images with the coordinating dies using my Cuttlebug. To finish it off I applied some Crystal Clear & Marshmallow Sequins from PPP using Ranger Multi Medium Matte and then tied a bow at the top to give it that extra touch.

I tried to give links to most of my supplies, a lot of them are linked to the manufacturer but you can also buy most of them from Simon Says Stamp or Amazon.

Thank you for visiting today, I hope you have a fun and crafty day!


Monday, January 23, 2017

Be Mine Valentine Box-SSS Wednesday Challenge

Good day all, today I am sharing a fun project that I made for the Simon Says Stamp Wednesday Challenge which is to make anything but a card. They are showcasing products from We R Memory Keepers and I just happen to have a few things of theirs. 
I like how easy they are to make and they are the perfect size to fit a yummy treat with maybe some lip gloss or earrings, etc..  I will be making several of these for some good friends for Valentine's.


I made these little boxes using the We R Memory Keepers Envelope Punch Board from an old Laura Bassen video tutorial. I also used a We R Memory Keepers Embossing folder on the white strip to make some thick stripes. I stamped the hearts and sentiment using Memento Tuxedo Black Ink and my MISTI. I used my Black Wink of Stella  brush marker on the black part of my big heart to give it some sparkle. Speaking of sparkle I added some Crystal Clear Sequins and Silver Heart Confetti from PPP with my Ranger Multi Medium Matte. I adhered the big heart with some mounting foam tape for some dimension.  On the back I secured my flap with a little Velcro circle. 

I tried to provide links to most of my supplies, I mostly get them from Simon Says Stamp but there are some I get from amazon, or from the manufacturer.

Thanks for visiting my blog today, Happy Crafting!


Friday, January 20, 2017

Birthday Card Set

Hello everyone, today I am sharing a project I made for my Card swap group. This month's theme is Birthday.  We were supposed to make a card and tag for this. We also started to use sketches each month to change things up a bit.
I don't know about you guys but I like to coordinate things together. So I ended up making my tag to match my card and I went ahead and made a matching envelope also.  I love the colors and had a great time creating this set, I hope you like it too!


Supplies:
Stamp & die set from Sizzix-Lori Whitlock
Memento Tuxedo Black ink and marker
I used my MISTI for all of my stamping
 I stamped the sentiment for the card using Versamark and then heat embossed it using Stampendous Marcasite embossing powder.
My Cuttlebug was used for all the die cutting
SU 2 3/8 scallop punch and also the 1 1/4 scallop punch
I colored in the images with EK Success colored pencils
I used my ATG to adhere everything except I used the 3M Mounting Foam tape on the party hat and the small scallop circle on the tag.
I used the Zig two way glue pen to add some Crystal Art Glitter to the hat for an added bit of sparkle.

Thank you for visiting my blog today, I hope I helped inspire you in some way.
Happy Crafting!


Tuesday, January 17, 2017

School Christmas Tree

Hello all, I hope you are all having a good day!  I finally got my computer to load these pictures. I have been having a little technical difficulty with my camera and computer working together.

I am sharing with you today a big project that happened back at the beginning of December.  After Thanksgiving break my son's teacher asked for my help in Decorating a Christmas Tree.  The first grade was asked to come and decorate the tree at our local bank. The Principal put my son's teacher in charge of the project, and then she came to me knowing that I am crafty.
We all loved it and thought it turned out really cute!


I made all the ornaments using my Cricut. Cartridges used are Doodlecharms and Locker Talk. The school provided me with the paper. I ended up making about 24 of each of the buses, scissors, & glue. I made 120 apples and we put all of the kids pictures on the apples and had them right their name on the back. We used some other school supplies like the crayons and pencils to help fill it in.


The Teacher provided the bow and I just added the school initials in the center.

Thank you so much for visiting today! Happy Crafting!


Monday, January 16, 2017

M&M Christmas Treat Stacks

Good day everyone, today I am sharing with you some goodie treat bags I was asked to create from a super sweet customer. She wanted these simple and fun treats to give to some co-workers and young women from the community that helped her out during the holidays.  I made these super quick because she contacted me to make them about a week before Christmas.


I created these cuties using the Lunch Box Notes Dies from Simon Says Stamp, an old stamp set from CTMH-"Christmas Greetings", and the stocking stamp came from an older SU set called "Color Me Christmas". I stamped all the images using Memento Tuxedo Black ink using my MISTI tool. I used simple Crayola watercolor paints for the coloring. I added some stickles in "Stardust, Green and Christmas Red".  I filled 1x8 cello bags from Clear Bags with some holiday M&M's and then used some twine to put it all together.

I had a lot of fun putting these together and they make such a fun little, inexpensive treat to let someone know that you are thinking of them. I like how versatile these can be, you can make these for any holiday or celebration just change the candy and what's on the tag and your all set.

Thank you for visiting my blog, I hope I have inspired you to create something for someone in your life today! Happy Crafting!

Saturday, January 14, 2017

Bookmarks!

Good day to you all, I know it's been a whole year since I posted and I didn't even realize how long it had been. I haven't stopped creating though, I had a busy year with my crafting. I made a lot of product for a couple of booths that I did and then I had orders to fill from some customers.

Today I am sharing with you an order I did for 3 school classes for Christmas. These orders took a long time since overall I made 78 of them. One class had 22 students, another 27 and the last one 29. 
Unfortunately I only got some pics of one order. I ended up delivering the other two orders before I took pics, so on the last order I hurried and took some pics so that I could show you what I did, just envision 78 of them instead of only 29.
Even though it took a while these were really fun to create.  The teachers loved them and I hope the kids did too.  I know when I was making them my son really wanted a shark one, and he was so excited to go and read a book so that he could put his shark on the pages. 


I wish the pics could be better but I was in a hurry, I would have put a solid color backdrop behind them if I would have had the time.  I tried to take some pics at different angles so that you could see how they open up to fit on the corner of the page.  The gorilla, shark, snake and lion are some of my favorite ones because when you put them in your book it looks like they are eating it. 

All of the images came from the Cricut. I used my Cricut Explore Air and the Animal Bookmark Corners & Page Pals cartridges.  I adhered them all with the Tombow Mono Multi liquid glue.  I can't tell you what paper I used because it mostly came from my scraps.

Thanks for visiting my blog today and happy crafting!
Thank you for stopping by, taking a peek, and leaving a comment or two!