Showing posts with label EK Success. Show all posts

Friday, January 20, 2017

Birthday Card Set

Hello everyone, today I am sharing a project I made for my Card swap group. This month's theme is Birthday.  We were supposed to make a card and tag for this. We also started to use sketches each month to change things up a bit.
I don't know about you guys but I like to coordinate things together. So I ended up making my tag to match my card and I went ahead and made a matching envelope also.  I love the colors and had a great time creating this set, I hope you like it too!


Supplies:
Stamp & die set from Sizzix-Lori Whitlock
Memento Tuxedo Black ink and marker
I used my MISTI for all of my stamping
 I stamped the sentiment for the card using Versamark and then heat embossed it using Stampendous Marcasite embossing powder.
My Cuttlebug was used for all the die cutting
SU 2 3/8 scallop punch and also the 1 1/4 scallop punch
I colored in the images with EK Success colored pencils
I used my ATG to adhere everything except I used the 3M Mounting Foam tape on the party hat and the small scallop circle on the tag.
I used the Zig two way glue pen to add some Crystal Art Glitter to the hat for an added bit of sparkle.

Thank you for visiting my blog today, I hope I helped inspire you in some way.
Happy Crafting!


Friday, May 15, 2015

Lots of Birthday Goody Bags!

Hello to all of my crafty friends, I will be sharing with you in the next few posts about some fun Birthday Goody Bags that I have made for my Relief Society sisters. In my ward they called me to the position of "The Birthday Girl". This means I am in charge of making sure all of the Women in my ward receive a little something for their Birthday. In The Church of Jesus Christ of Latter-Day Saints we all have different jobs to do that we don't get paid for, we give of our time and talents freely to better serve the kingdom of God. 
 I just received this call about a month or so ago and so I got to work right away. It is amazing to me how many Birthdays there are everyday. I thought for the first year in this calling I would make something pretty easy to put together so I could get them their gifts quickly. Here are some of the first batch that I have made:


Here is the list of supplies I used, I get a lot of supplies from Simon Says Stamp
Stamps came from CTMH, Stampin' Up, My Pink Stamper, Fiskars,
 Studio 112, & TPC Studio
Ink from Memento: Rich Cocoa, Tuxedo Black, Rose Bud, Cloud White, & Thatched Straw
Pool Party Ink from Stampin' Up
Scallop Punch & Memory Colored Pencils from EK Success
Scotch 3M Mounting Foam
White Gel Pen
Washi Tape
Ribbon from my stash
All the Paper is scraps from my stash

Thanks for stopping by today!


Friday, December 5, 2014

Card Swap Cards for October and November!

Okay so I have some catching up to do! I really have been doing a lot of crafting and creating. I now have a facebook page just for my crafting. It is called Imagination Attic of course!  I have been posting on it more than my blog but I really want get better at posting on both sites.  

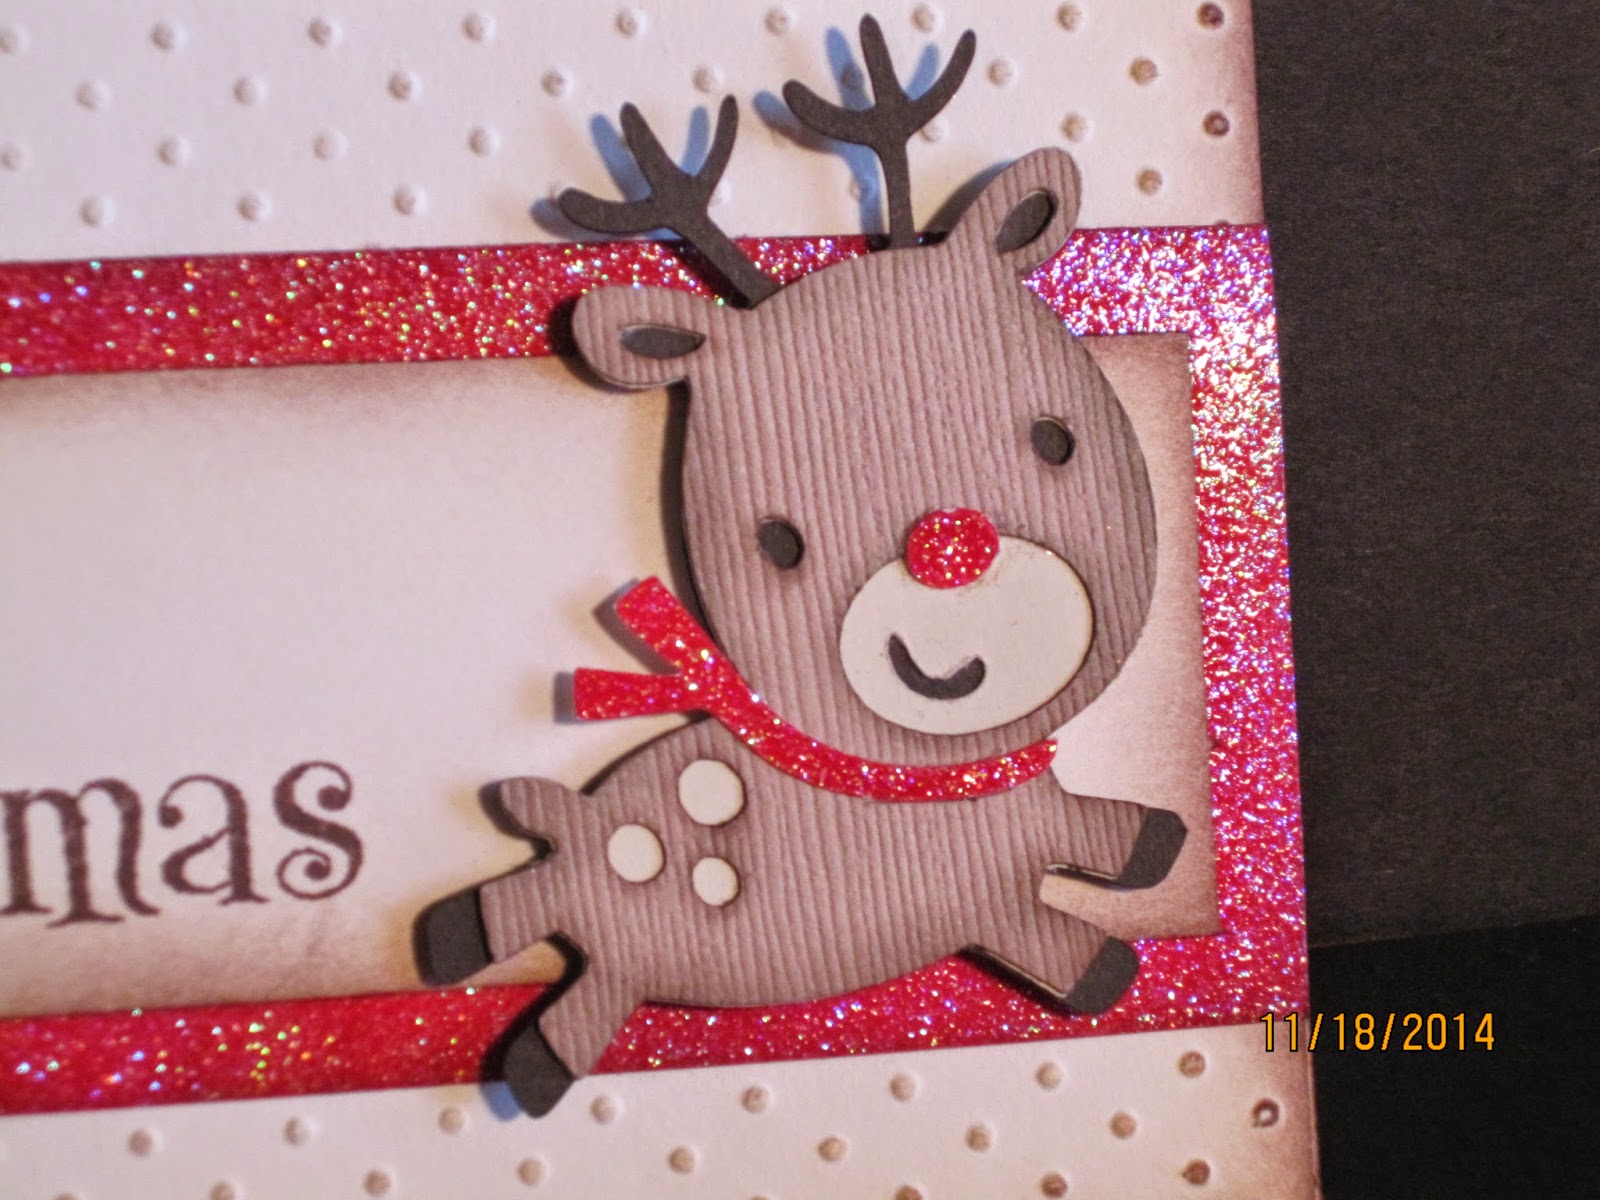
My last post was the card that I made for the September card swap group that I am a part of, well today I will share with you  the cards for October and November.  In my group we do Christmas cards in October and November and then we make tags for the month of December.  So here is what I came up with:


For this beautiful blue card I used the stamp set Perfect Fit-Holidays from Close to My Heart. 
Memento Tuxedo Black ink for the bird and EK Success colored pencils
VersaMark ink and blue & silver embossing powder for the other two stamps.
Embossing Buddy from Stampin' Up 
Blue ColorBox ink for edging
Patterned paper and cardstock 
Silver twine
I made my own glitter spritz with Perfect Pearls powder 
Mounting Foam Tape 


 Create a Critter Cartridge
Cuttlebug-Swiss dots folder
Stamp is from Close to my Heart-Christmas Greetings
I made my own glitter paper with VersaMark ink & Kaleidoscope embossing powder from Stampendous
Tim Holtz-Tea Dye distress ink and Memento Rich Cocoa were used for shading and antiqueing
Mounting Foam Tape


Doodlecharms Cartridge
Cuttlebug
Recollections Stamp set-Merry, Merry
K & Co. patterned paper
Memento rich cocoa ink and ColorBox green ink for edging
glitter spray using Perfect Pearls powder
Mounting Foam Tape


Stampin' Up stamp set-Holiday Spirit
VersaMark ink and Pirate Gold Embossing powder from Stampendous
Embossing Buddy from Stampin' Up
Mounting Foam Tape
Ribbon


Create a Critter Cartridge
Cuttlebug with Diagonal Stripes from Sizzix 
Close to My Heart stamp set-Christmas Greetings
ColorBox ink in Green and blue for shading
Stampin' Up ink in Real Red for stamping
Stickles- Stardust, Christmas Red, and Waterfall
Mounting Foam Tape


Thanks for visiting my blog today and enjoyed my creations!

Tuesday, September 23, 2014

Soccer Team Treats!

I had to share what I made for the High School Girls Soccer Team!  All of us Soccer Moms are taking turns bringing a treat to the school on game days.  I delivered mine this morning, and I really like how they turned out and I hope the girls like them too!


The Soccer ball is a stamp that I heat embossed with black powder. I used a stamp from My Pink Stamper that says "You can do it!" in red ink from Stampin' Up.  I adhered them to a red circle punched from a 2 1/4" punch from EK Success and tied some tulle at the top. 


Monday, October 7, 2013

Birthday Girl Banner!

Good Monday everyone. Today I wanted to share with you a "Happy Birthday" banner I made to sell at my booth earlier this year.  I made it for a girl, but kept it very general. I didn't want to do any themes because you never know what people are looking for.  I really like how it turned out.  In person you can really see all the different colors and patterns better and the sparkle from the glitter looks better too!


I used the Pretty Pennants cartridge for the banner shape.
The patterned paper is from an old Imaginisce glitter paper pad, so it all coordinates together.  I used a brown cardstock for my solid base


I used an EK success scalloped circle punch for the scalloped circles, then I used a 1.5" circle punch from Creative Memories for the inside circle.  The cupcakes are from a Stampin' Up stamp set, stamped on different colors of paper and then pieced together.  I added stickles to the cupcakes for some sparkle.


The letters were cut out of an old sizzix sidekick alphabet and layered on brown cardstock, and then covered with pink stickles.  I used some eyelets to strengthen the corners and then tied it together with some bakers twine.

 
Thanks for visiting my blog today, I hope you liked my project and come back to see more!
let me know what you think!


Friday, July 19, 2013

Birthday Goodie Bags #7, #8, and #9

Today I am going to share even more Birthday Goodie Bags.  I make these every year for our soccer team.  We had about 15 girls on our team this last season. I really like how many of them turned out, I hope you do too!


I used the TBBM cartridge for the purse
Paper is from Doodlebug, the balloon is a die cut that I had in my stash. The stamp is from Stampin' Up embossed with some blue embossing powder.  I used a blue marker to sguiggle the balloon string. I used Colorbox blue ink for the shading around the edges.  The blue ribbon is from my stash also.


This one was really pretty simple.  Paper is from Doodlebug, ribbon from my stash, stamp and ink from Stampin' up, flower punched with an old EK Success punch. I put a blue brad in the flower to finish it off. TBBM cartridge used to make the purse.


This bag was made using a stamp and espresso embossing powder from Stampin' Up.  A brown marker for the dots, ribbon from my stash, and paper from an SEI-Happy Day paper pad. Oh, and cut using the TBBM cartridge.

Thanks for visiting my blog today, I hope you enjoyed looking at my projects! I have just a few more bags to share and then I can show you what I made for Teacher Appreciation (that was months ago).

Monday, November 15, 2010

Babee shower gift

I went to a really fun baby shower on Saturday for one of my Young Women girls I used to teach.  To think that all those girls are old enough to be getting married and having children makes me feel old.  Time really flies.  She had a bee theme to her shower.  I made her a cute card and matching gift bag.  It was a lot of fun to do and I hope you like it.


The bees are actually from the invitation I recieved.  I just cut them out and used them on the project.  I used plantain schoolbook cart for the letters,  and I used an ek success border punch for the black trim.  I inked the edges with a black stampin up ink pad.


Thank you for stopping by, taking a peek, and leaving a comment or two!